You can insert an image at a specific location using the following icon.

***NOTE*** Do NOT Copy/paste or click and drag images into the WYSIWYG editor. This breaks the image and causes it to not show up on your site.
General
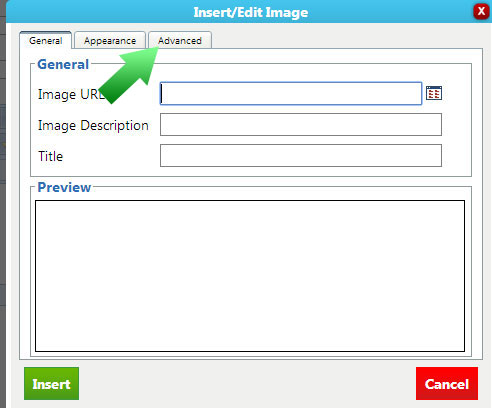
When you select this icon, the following window appears.
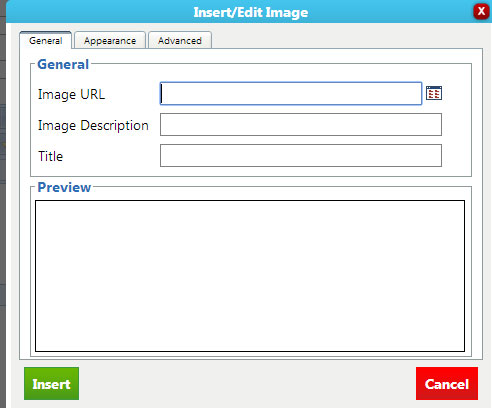
1a. Select the image from the image manager. For how to use the Image manager, see the Image Manager help.
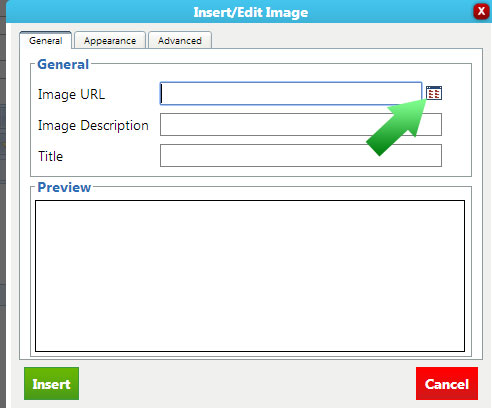
1b. Make sure the image description and title match. You can see a preview of your image in the preview section.
1c. Visit the appearance tab as shown below.
Appearance
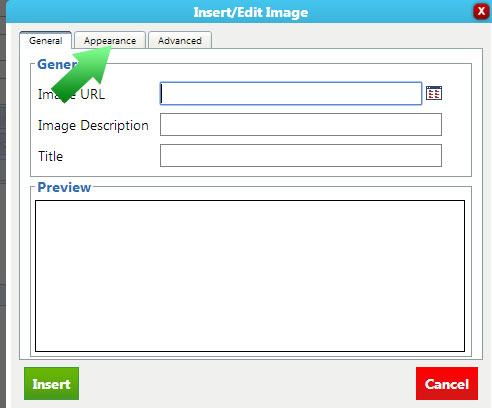
The window will now look like this.
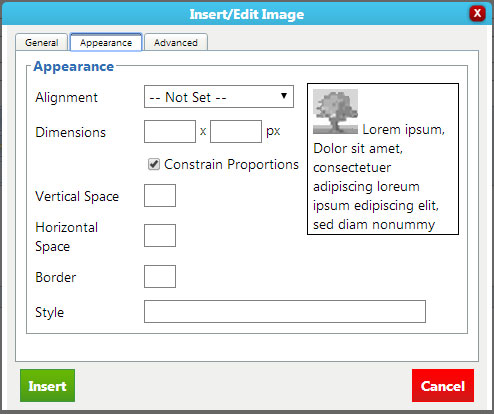
In the Alignment section, use the dropdown arrow to select how you want your image aligned. The box next to it will show how your picture will be aligned with text.
- The Dimensions tab allows you to change the size.
- Constraining proportions allows you to keep the original shape of the image.
- Vertical and horizontal space define space around the image(we recommend 10 in both sections).
- The border section defines a border around the image(in pixels).
- Style simply defines the code for the choices you make in the above sections.
**NOTE** It is not recommended that you resize the image in this editor! If you wish to resize the image, do it in the Image Manager.
Advanced
Want to make your image change when you mouse over it? You can do that in the WYSIWYG too.
3a. Click on the “Advanced” tab.
The screen that appears will look like this.
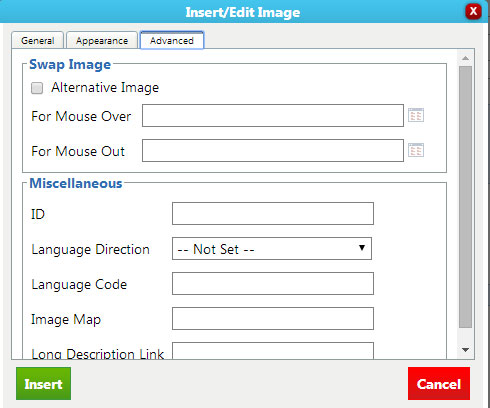
3b. Select the “Alternative Image” toggle.
3c. Use the Image Manager buttons to bring up the Image Manager for the “For Mouse Over” and “For Mouse Out.” (For how to use the image manager, see the Image Manager tutorial)
***NOTE*** If you only use the “For Mouse Over” section, the picture will not change back when you move the mouse away from it.
«Previous 1.2.07 Insert/Edit Links | Table of Contents | Next 1.2.09 Insert Embed Code»







 Made in the U.S.A.